Twitter OAuth integration allows users to log in to your application securely using their Twitter credentials, simplifying access and improving user experience. Follow this comprehensive guide to configure Twitter OAuth for your app:
Step 1: Access the Twitter Developer Portal
- Go to the Twitter Developer Portal.

- Log in using your Twitter credentials, or create a new account if you don’t have one.
Step 2: Developer Agreement & Policy
- Enter your use case and agree to their terms and “Submit”

- You will be directed to the Twitter dashboard with a project created.
Step 3: Set Up Authentication
- Click "Project & Apps" on the sidebar then select your project.

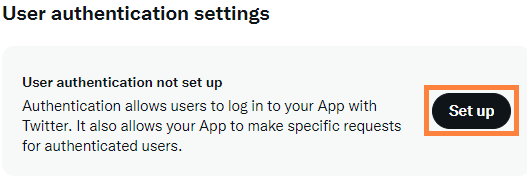
- Click "Set up" User authentication settings.

Step 4: Configure Permissions
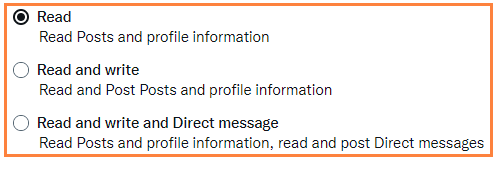
- Select permissions by choosing "Read and Write" or "Read, Write, and Direct Messages" depending on your app's needs.

Step 5: Set Your Type of App
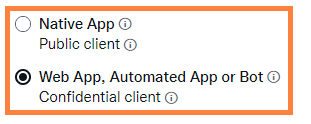
- Give the App permissions by selecting "Web App, Automated App or Bot".

Step 6: Set App info
Fill in the following fields:
- Callback URL:
https://staging.api.bitbybit.studio/bitlogin/api/login/twitter/callback
https://api.bitbybit.studio/bitlogin/api/login/twitter/callback - Website URL: Enter your domain or website URL
- Organization name: bitbybit
- Organizational URL: https://bitbybit.studio
- Terms of service: https://ww.bitbybit.studio/terms-conditions
- Privacy policy: https://bitbybit.studio/privacy
Step 7: Save Your Authentication Set Up
- Click "Save"
Step 8: Generate Access Tokens
- Return to "Project & Apps" and click "Default project".

- Scroll down to the Apps and click the Key icon.

- Click "Generate" to create your Access Token and Access Token Secret.

Step 9: Configure Twitter OAuth
- Copy and paste API Key and API key Secret into your bitLogin OAuth Settings - Twitter page.

Step 10: Enable Twitter Login
- Toggle the "Use your store name on Twitter login" switch until it turns green.
- Click "Save Changes."

Congratulations! You've now configured Twitter OAuth successfully.
