
AI Studio allows businesses to create and customize AI Agents that handle customer inquiries, provide recommendations, and automate tasks. Unlike bitAI, which focuses on product sorting and collection management, AI Studio is designed for AI-driven customer engagement. Learn how to set up AI Studio efficiently to enhance your business operations. Follow these simple steps to create your own an AI chatbot for your business:
Step 1: Navigate to AI Studio
- Go to AI Studio dashboard, and click Create new agent.
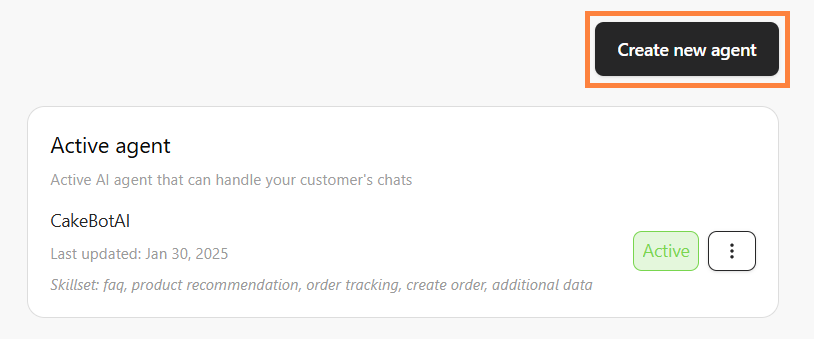
📌Note: You can add more multiple AI Agent if you want to test a new AI Agent
Step 2: Set Up the AI Model
- Choose an AI model.

📌Note: GPT-o3 Mini requires an Standard Plan upgrade.
- Fill in Chatbot details: Chatbot name, Role, Brand name, Description that fit your business.

📌 Please note: In the Description field, provide as much detail as possible to help the AI better understand your business context.
Step 3: Set a Skillset
- Scroll down and find the Skillset section and choose one or more, click on a skill to adjust its settings by turn on the toggle for specific features and configure their settings:
- Product Recommendation: Suggest products based on customer preferences.
- Order Tracking: Provide real-time order status updates.
- FAQ: Answer customer inquiries using uploaded files.
- Create Order: Automatically generate orders based on customer preferences.
- Data Collection: Gather specific customer data for retargeting.
Step 4: Test Your AI Chatbot
- Once all settings are configured, test on the right side AI Playground start a conversation to check if the AI responds as expected.

Congrats! Your AI chatbot is now ready to assist customers🚀