Setting up Apple OAuth enables users to log in to your application using their Apple ID, offering a secure and seamless authentication experience. Follow this detailed guide to integrate Apple OAuth into your app:
Step 1: Access the Apple Developer Portal
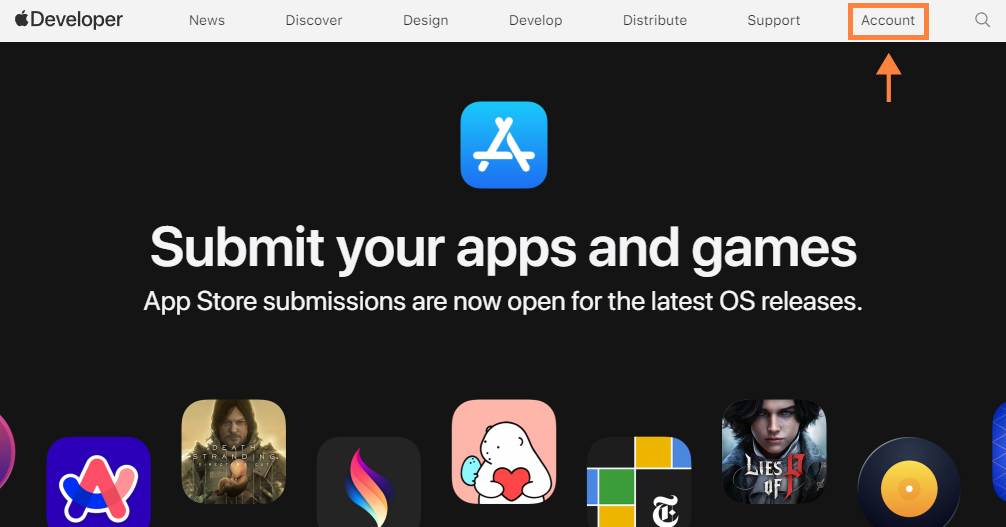
- Open your browser and navigate to the Apple Developer Portal.
Step 2: Sign In or Create an Apple Developer Account
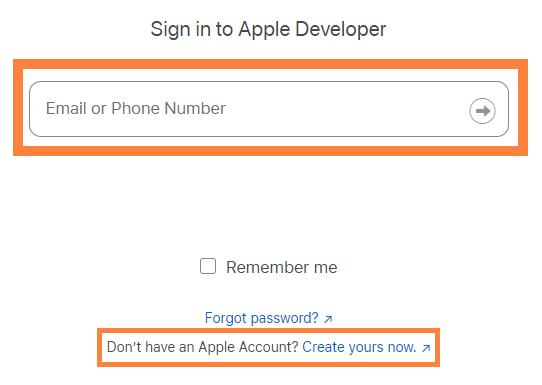
- Click "Account" then Log in with your Apple ID and password, or create a new account if you don’t have one.
Step 3: Access Certificates, Identifiers & Profiles
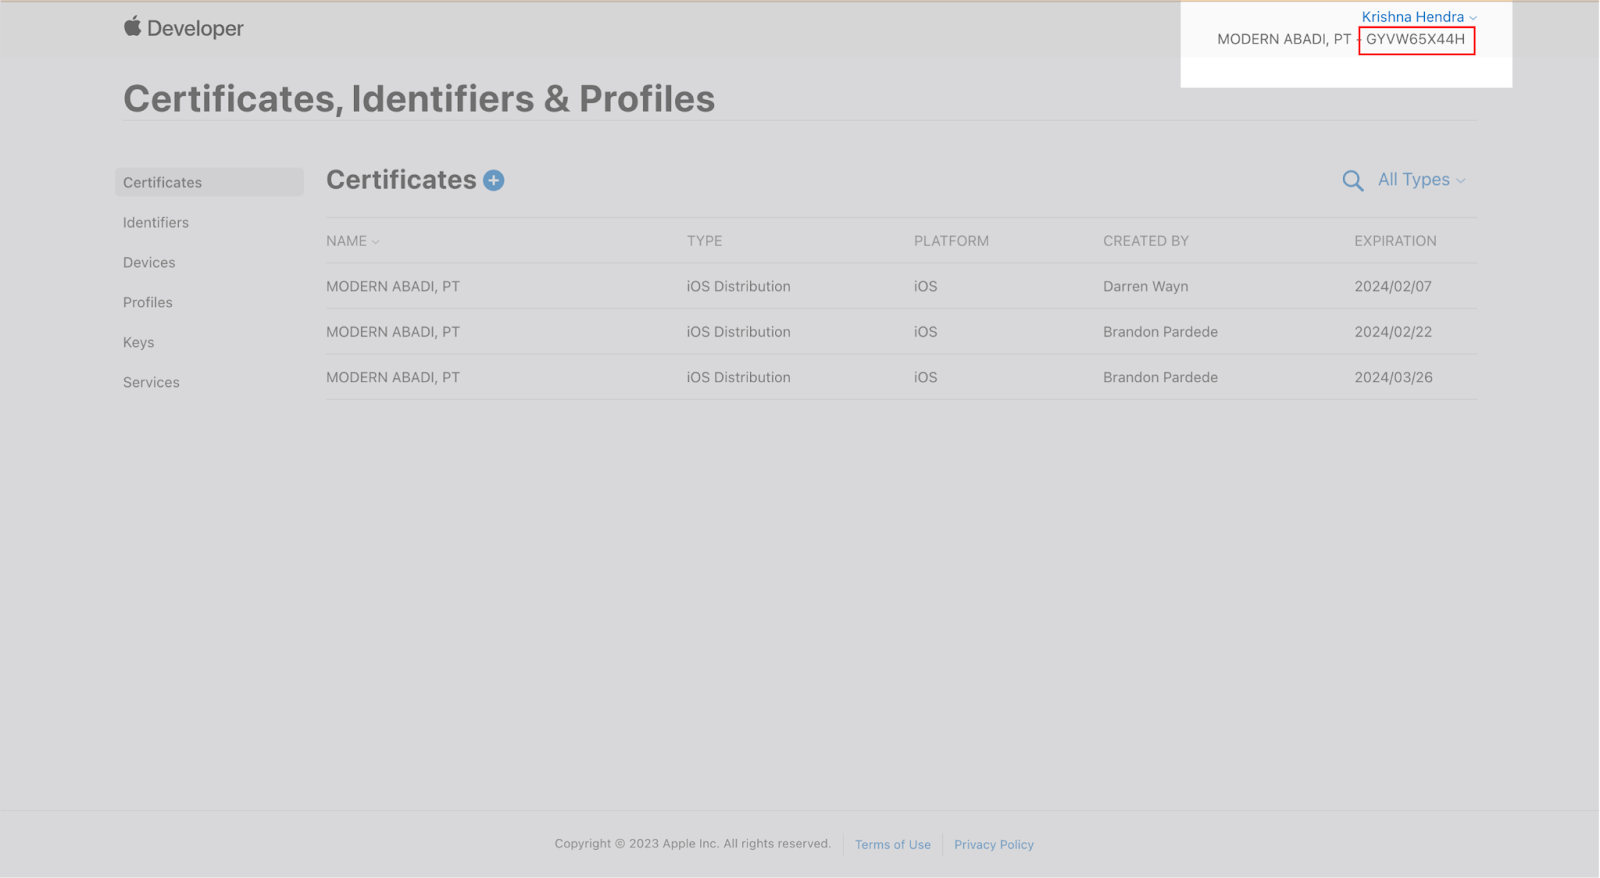
- After logging in, go to "Certificates or Identifiers" from the dashboard.

Step 4: Obtain Your Team ID
- Your “Team ID” is located in the top-right corner under "Membership Information." Copy this to the “Apple Settings” page in bitLogin.

Step 5: Register a New App ID
- In the sidebar, go to "Identifiers" and choose "App IDs" dropdown
- Click the "+" icon to create a new App ID.
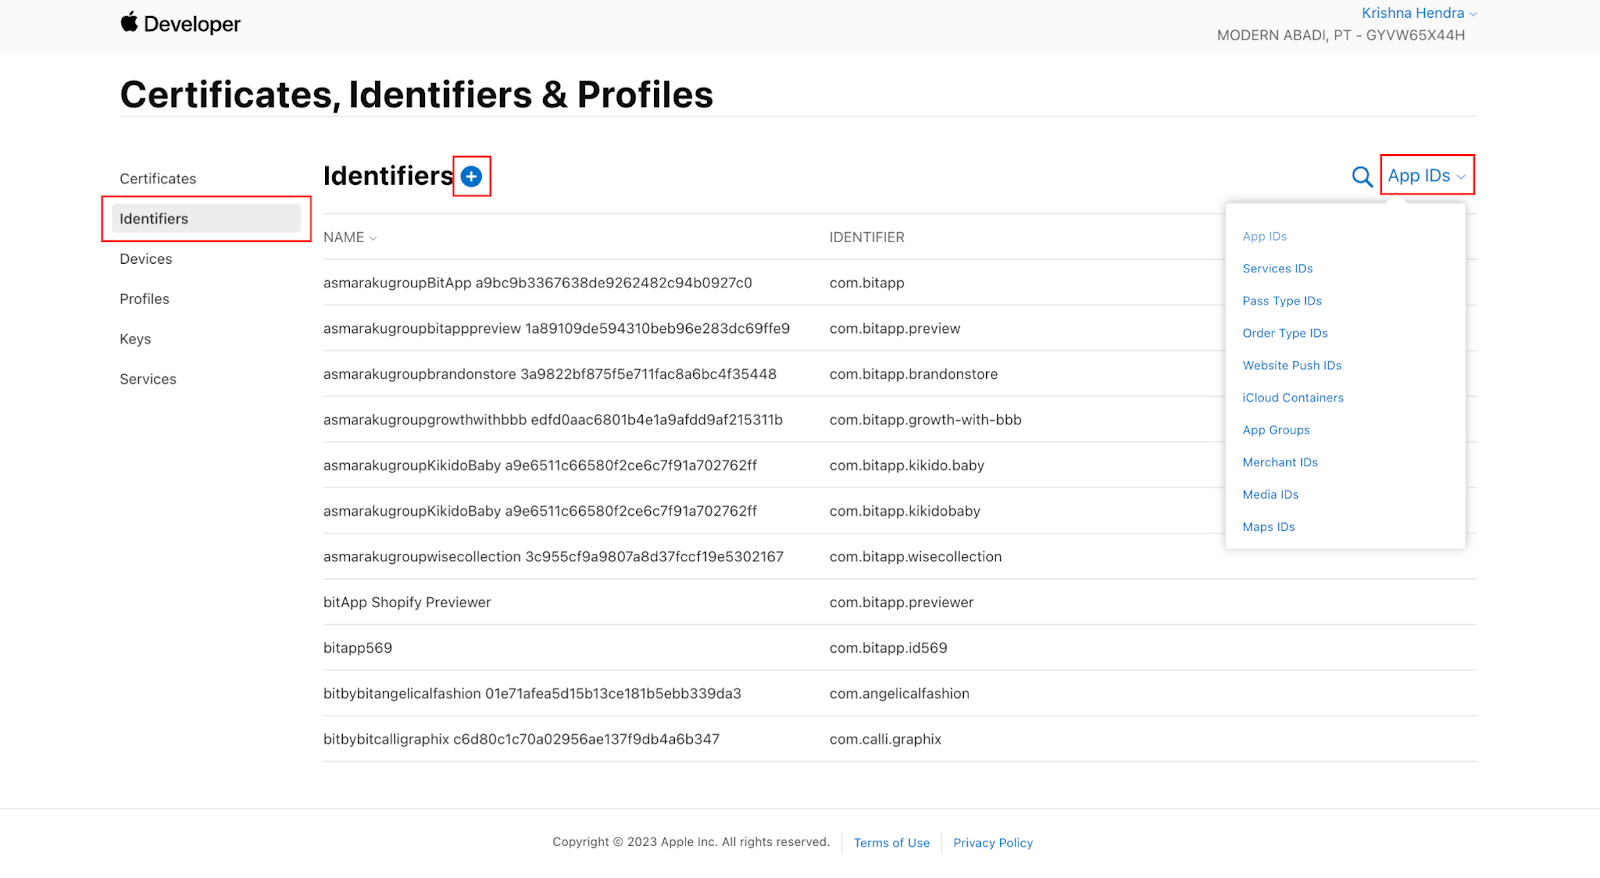
- Choose "App IDs" and click "Continue."

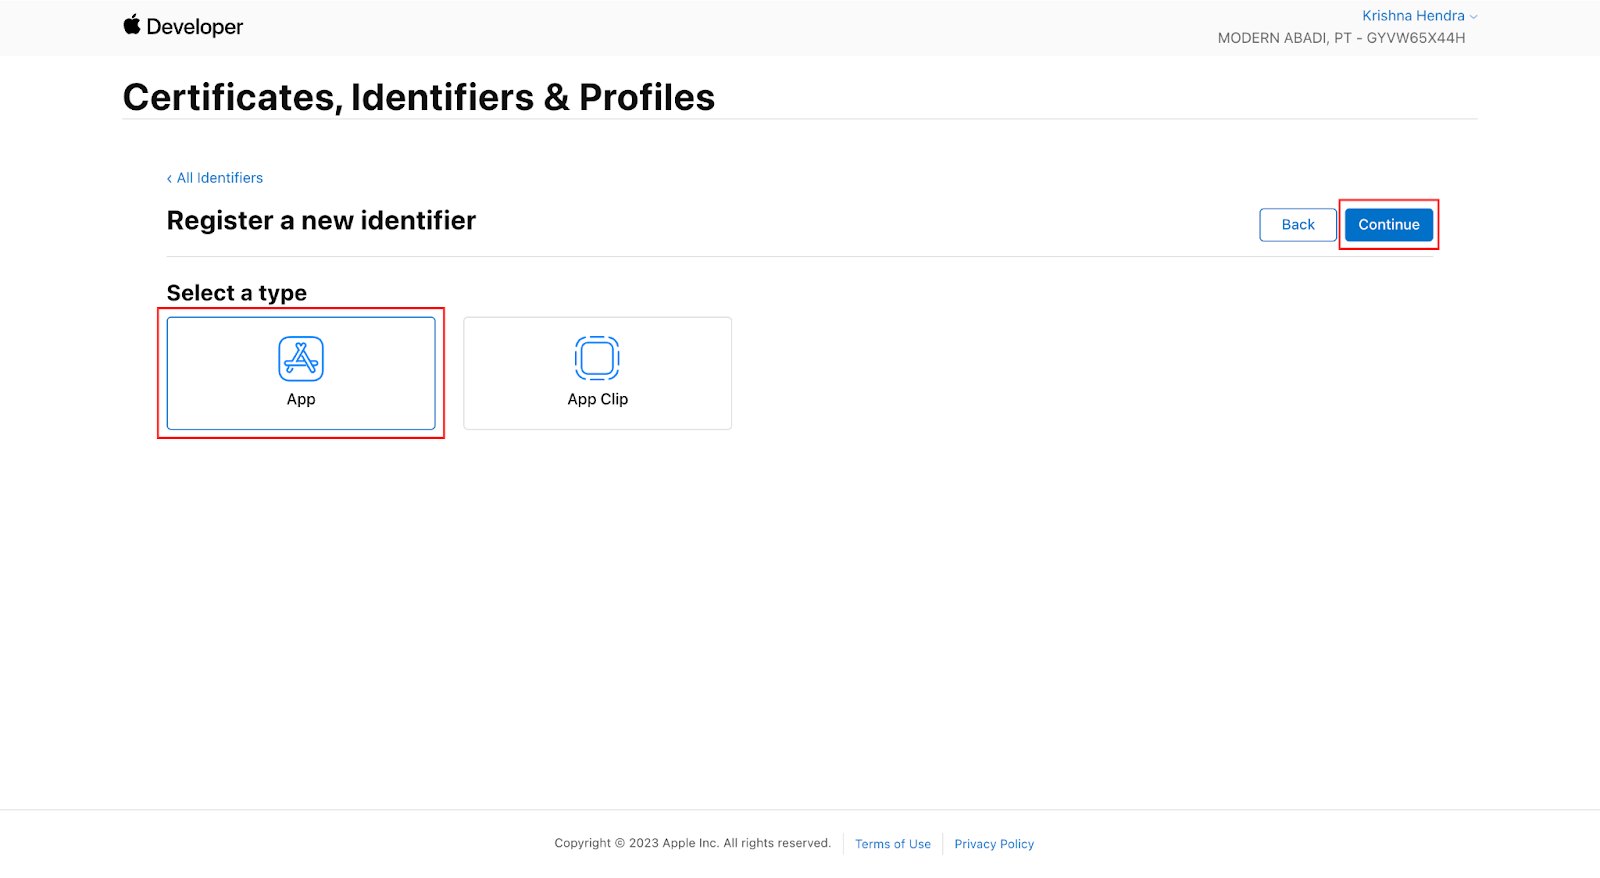
- Select the "App" type and then click "Continue."
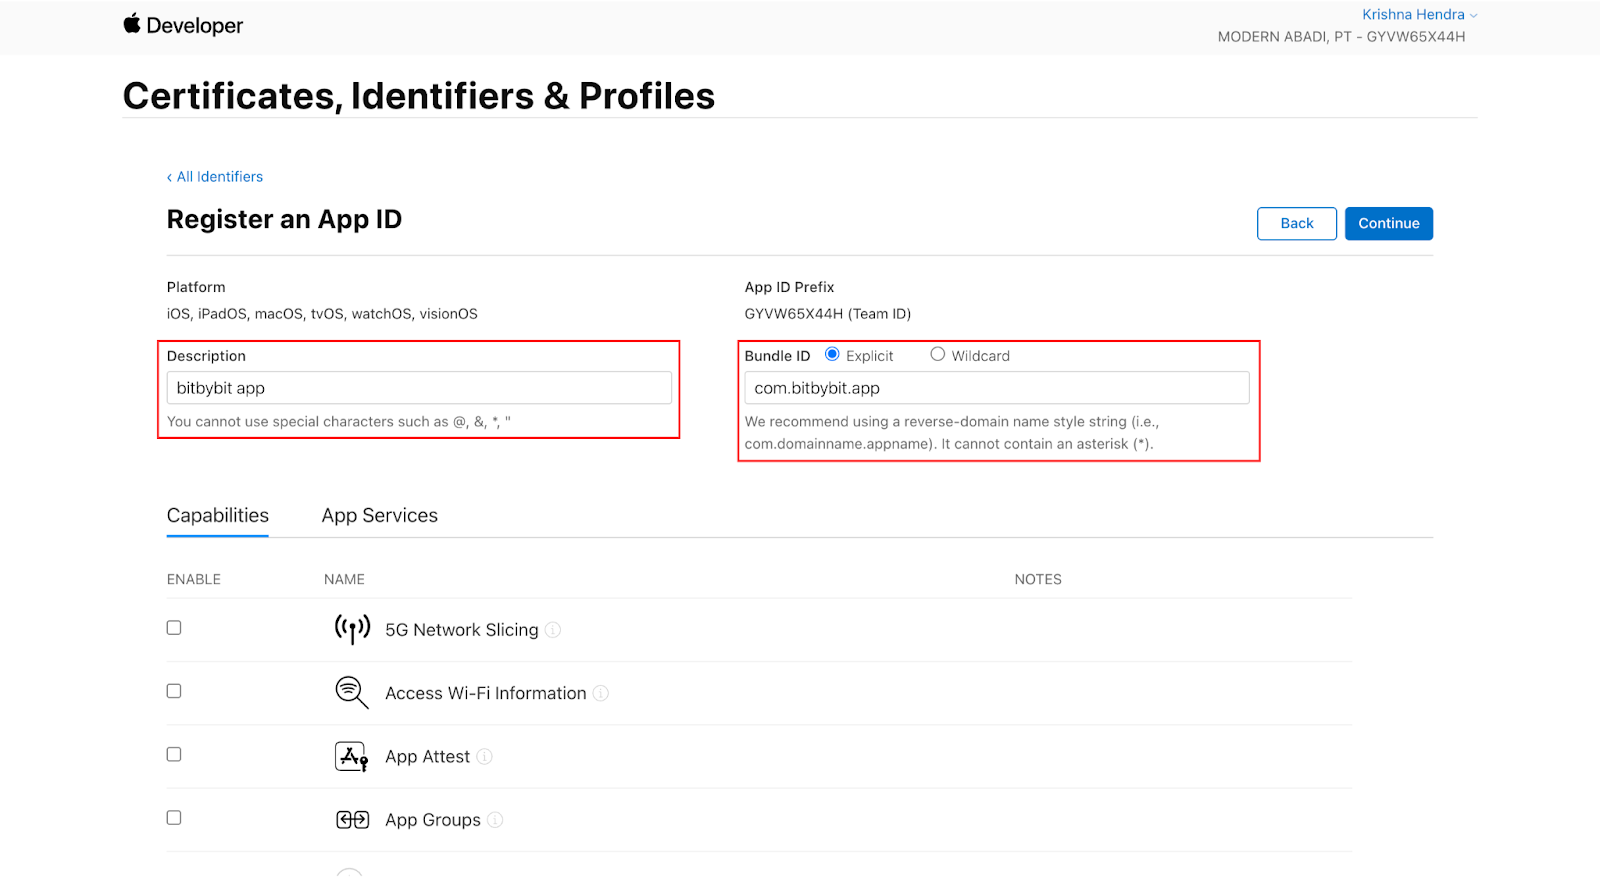
Fill in the necessary information:
- Description: A description for your app.
- Bundle ID: Choose "Explicit" and enter the name of your App ID, e.g., com.yourcompany.yourapp.
- Under “Capabilities”, check "Sign in with Apple" and click "Continue."
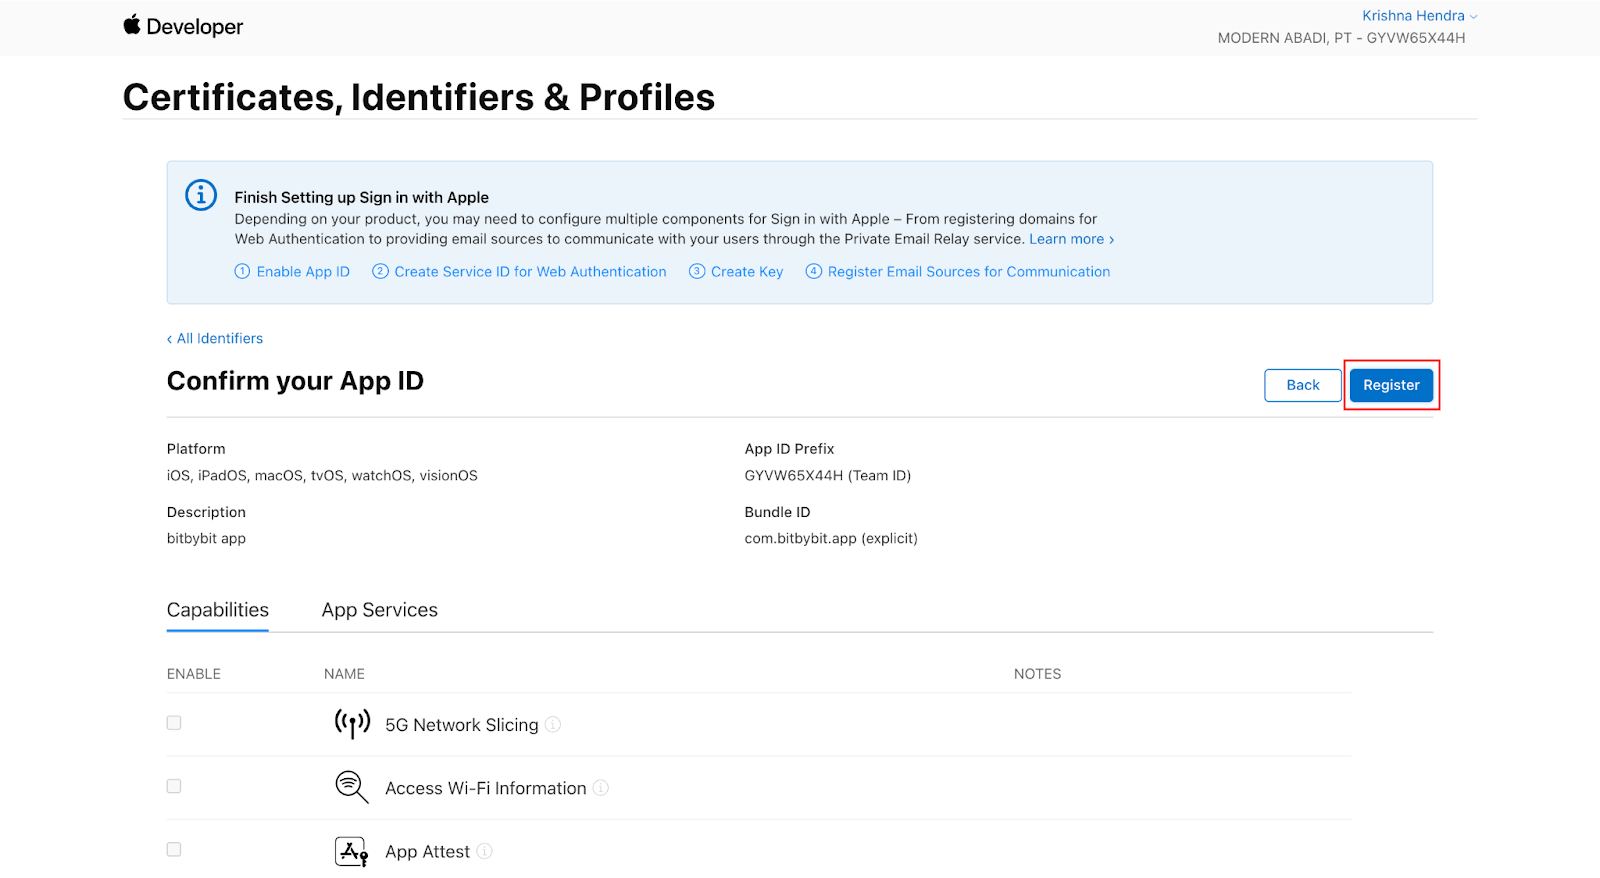
- Click “Continue” and click "Register".
Step 6: Register a New Service ID
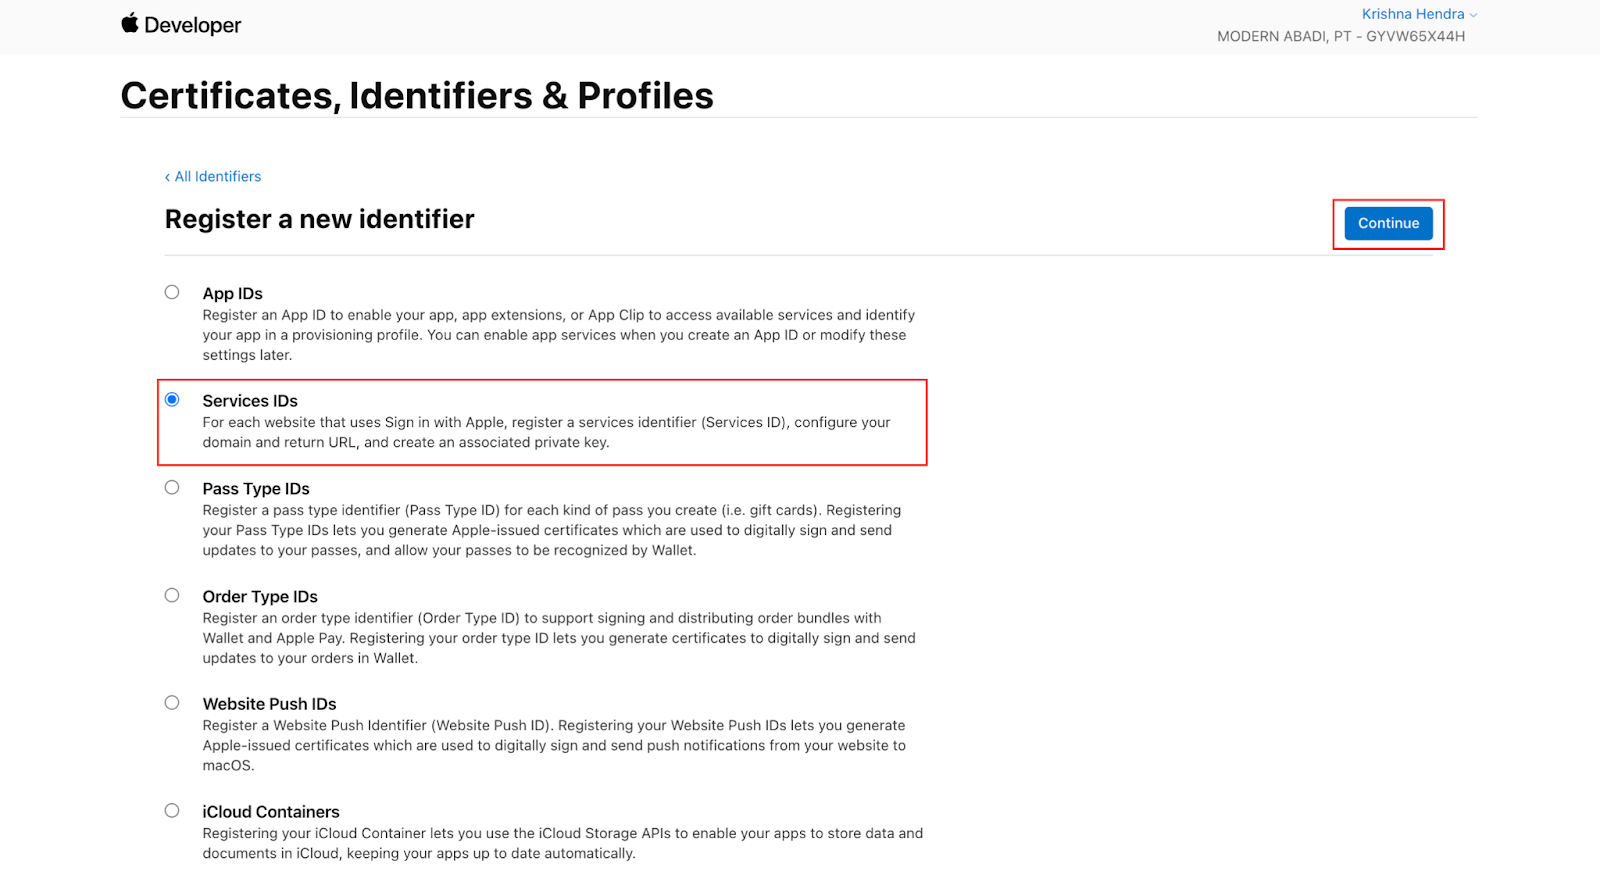
- Return to "Identifiers" and select "Service IDs" and “Continue”
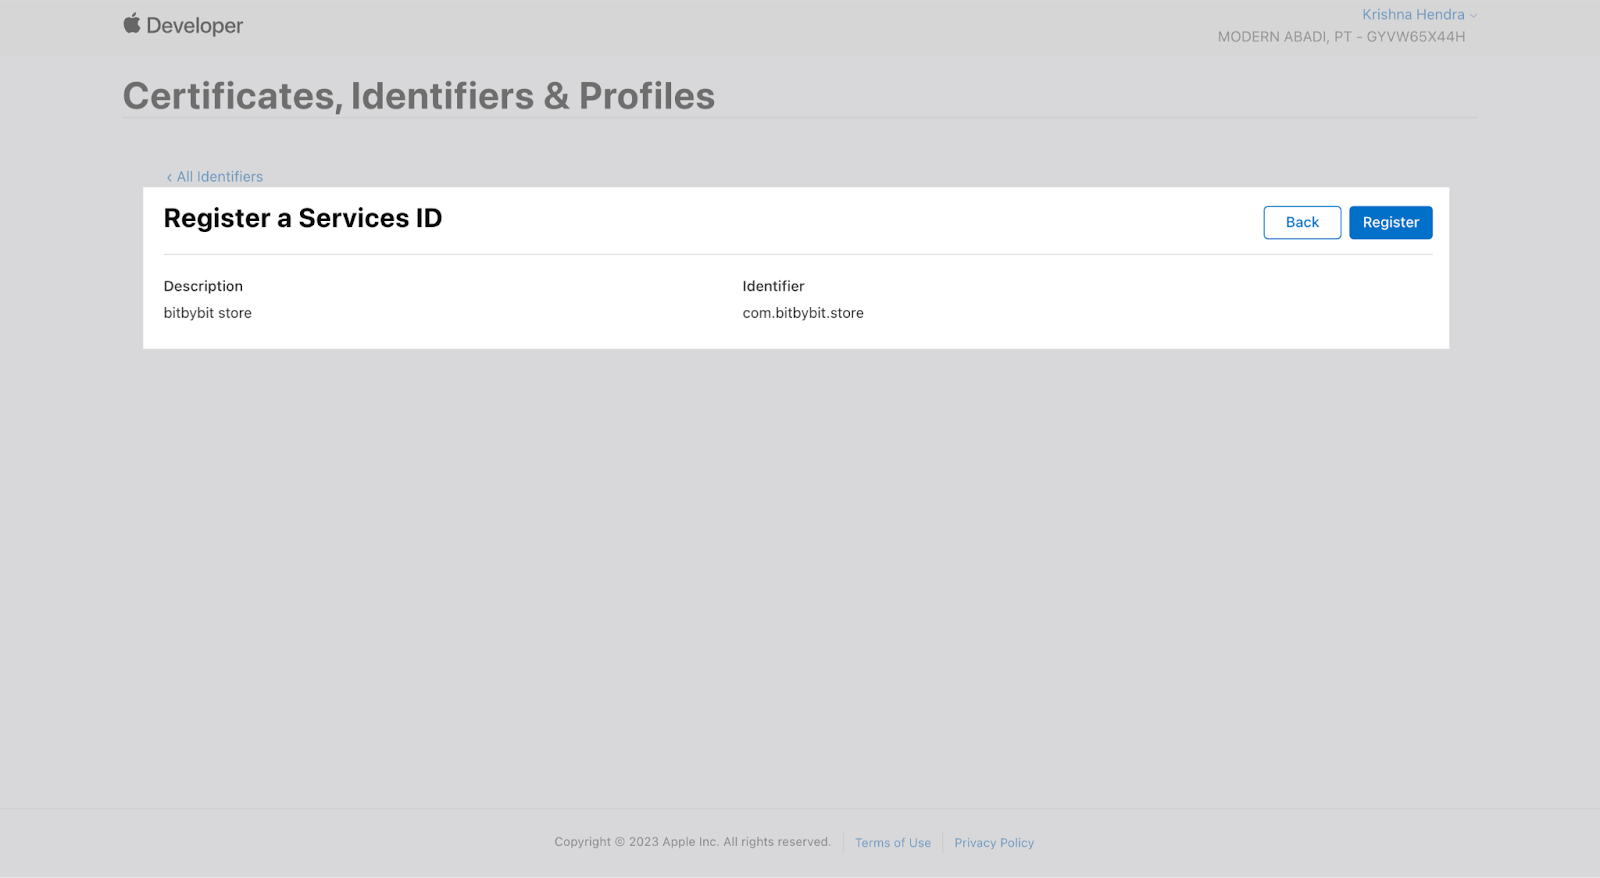
- Fill in the information by entering your store name in the “Description”, and fill in your identifier, e.g., com.yourcompany.yourapp.
- Click "Continue" to review and "Register" the new Service ID.
Step 7: Configure Sign in with Apple
- Go to "Identifiers" and select "Service IDs."
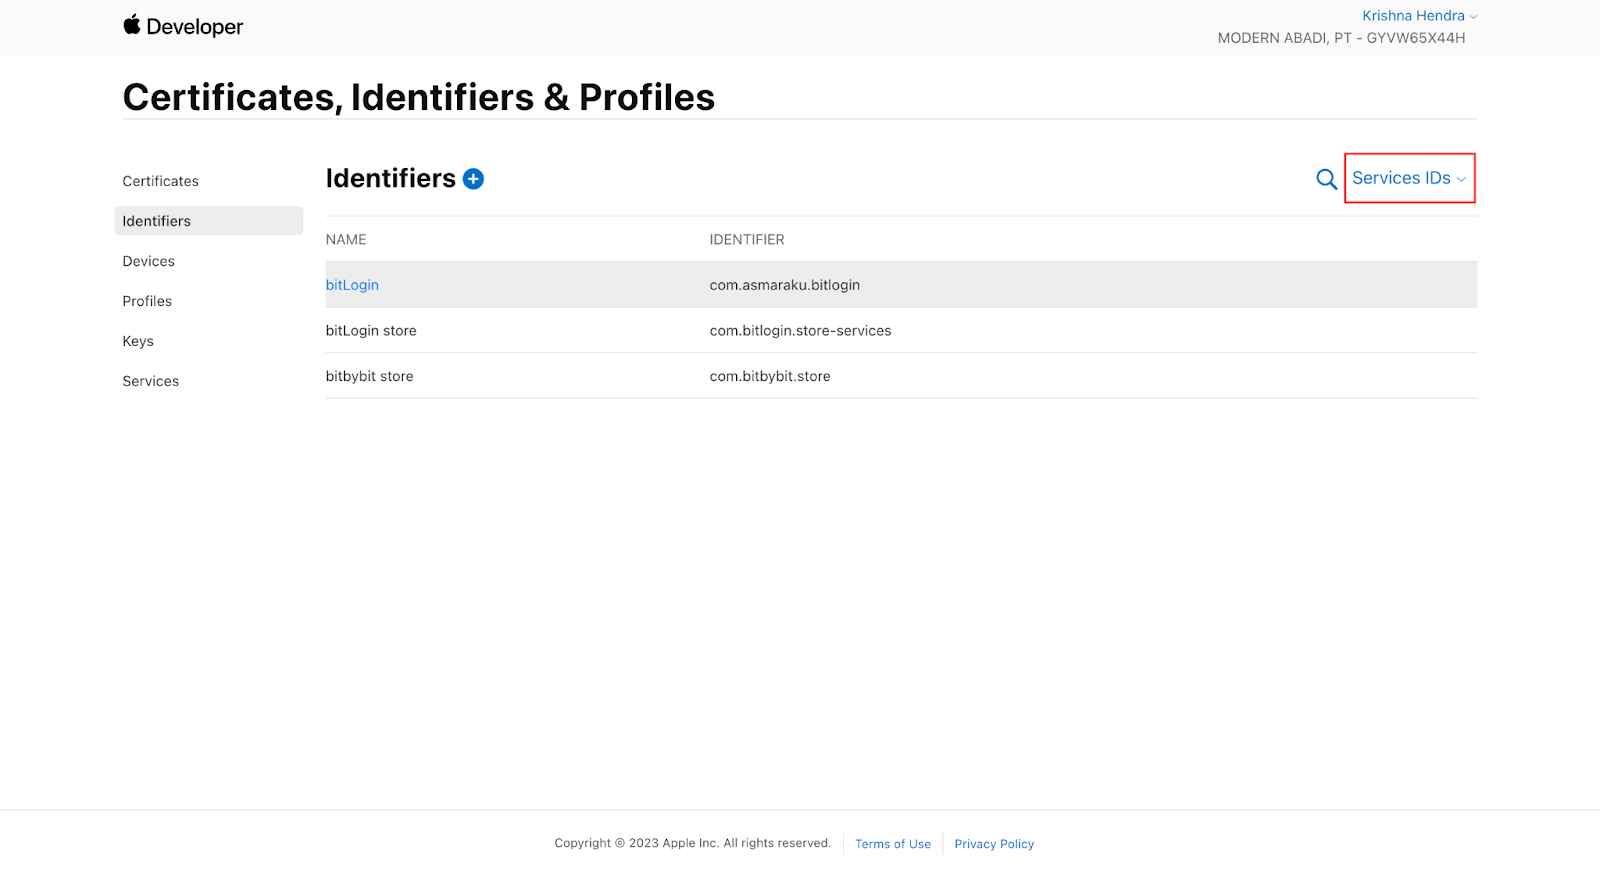
- Choose the Service ID you created and enable "Sign in with Apple."
- Click "Configure" and fill in the following details:
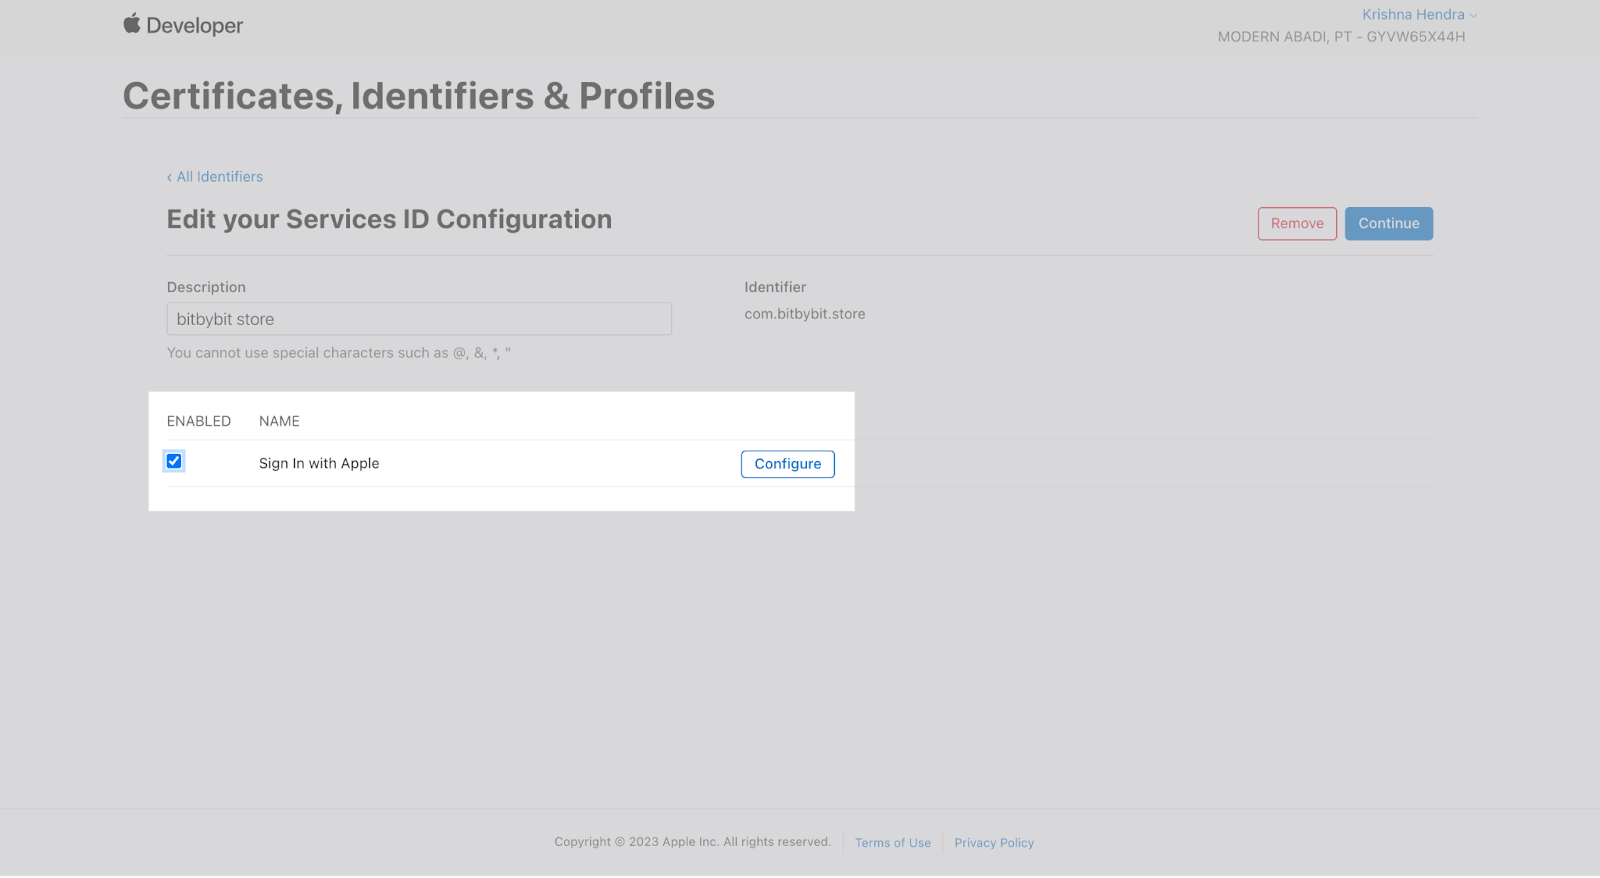
Complete the Web Authentication Configuration as follows:
- Primary App ID: Select the App ID created earlier.
- Domain and Subdomains: api.bitbybit.studio.
- Return URLs: https://api.bitbybit.studio/bitlogin/api/login/apple/callback.
- Click "Next" to confirm, then "Save."
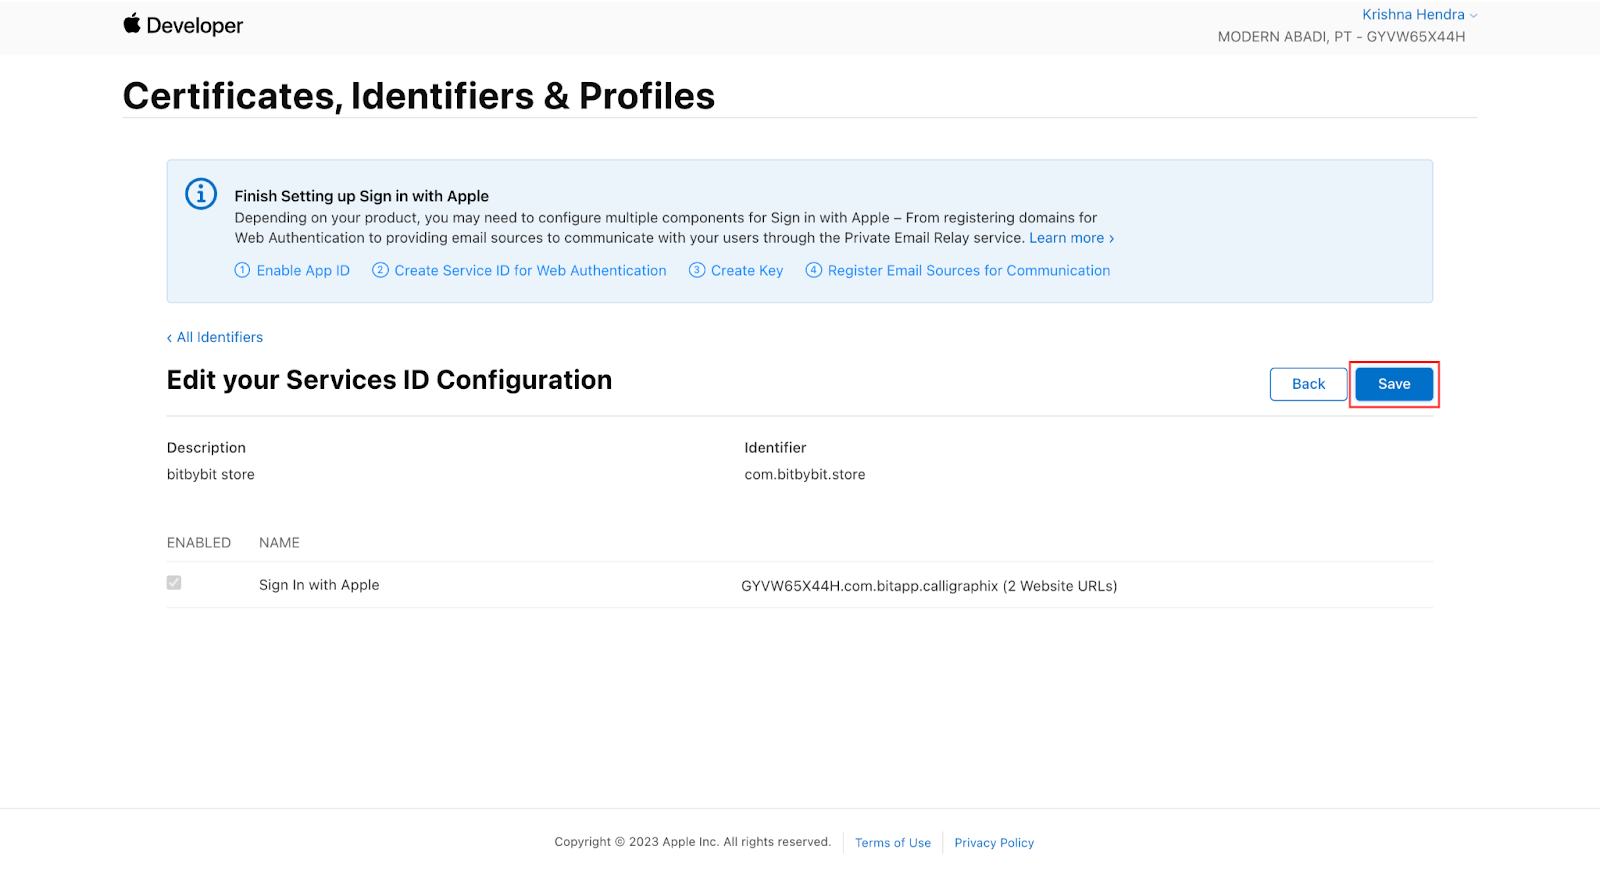
Step 8: Obtain Your Key ID & Private Key
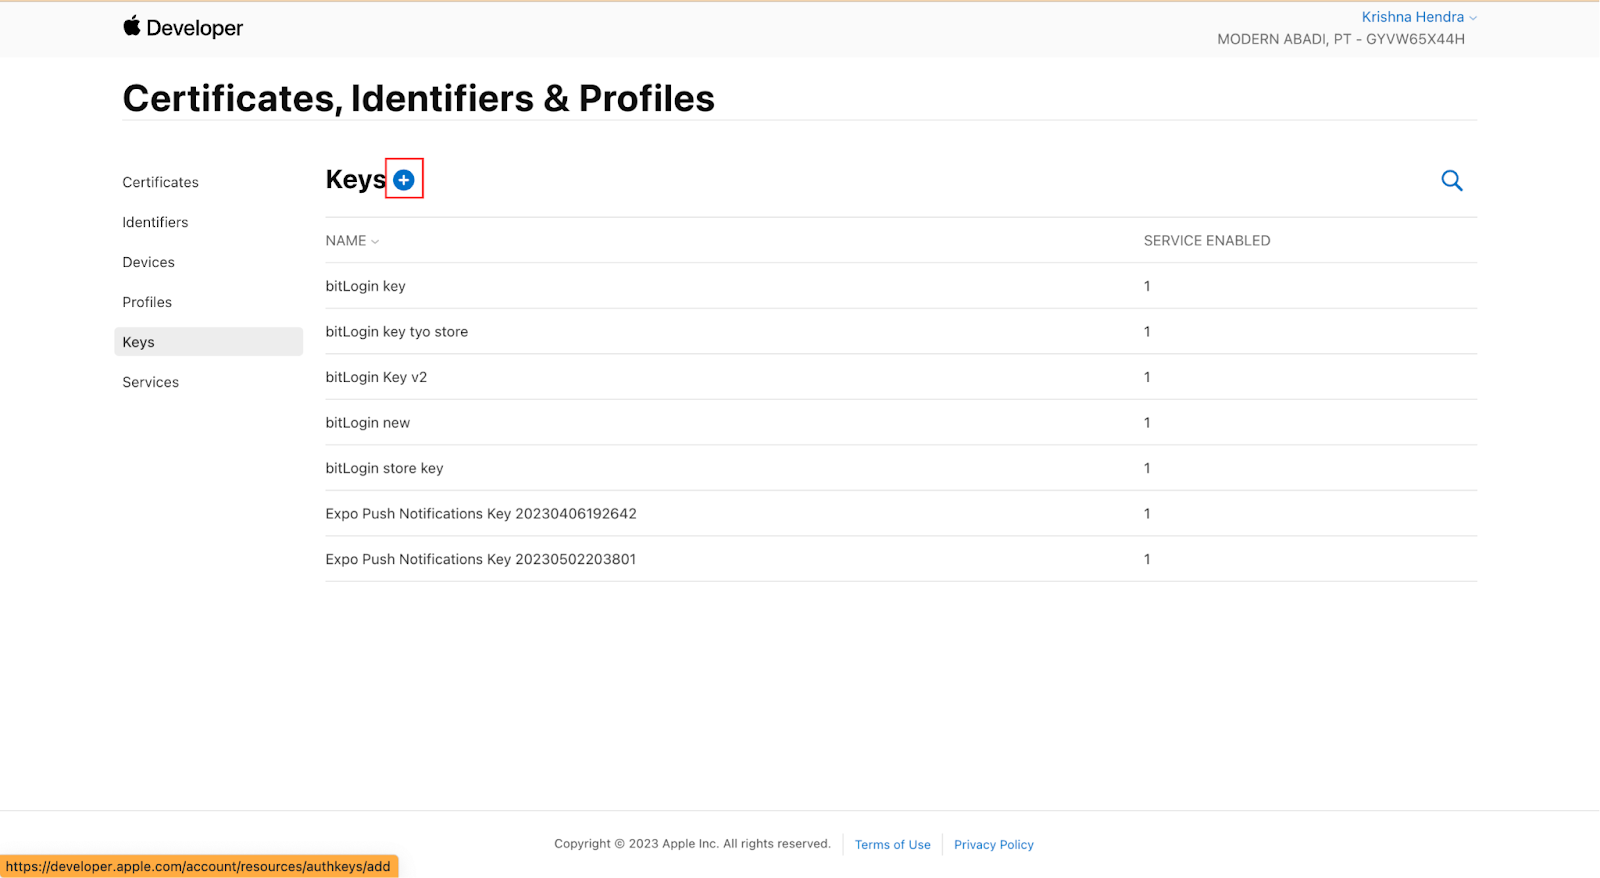
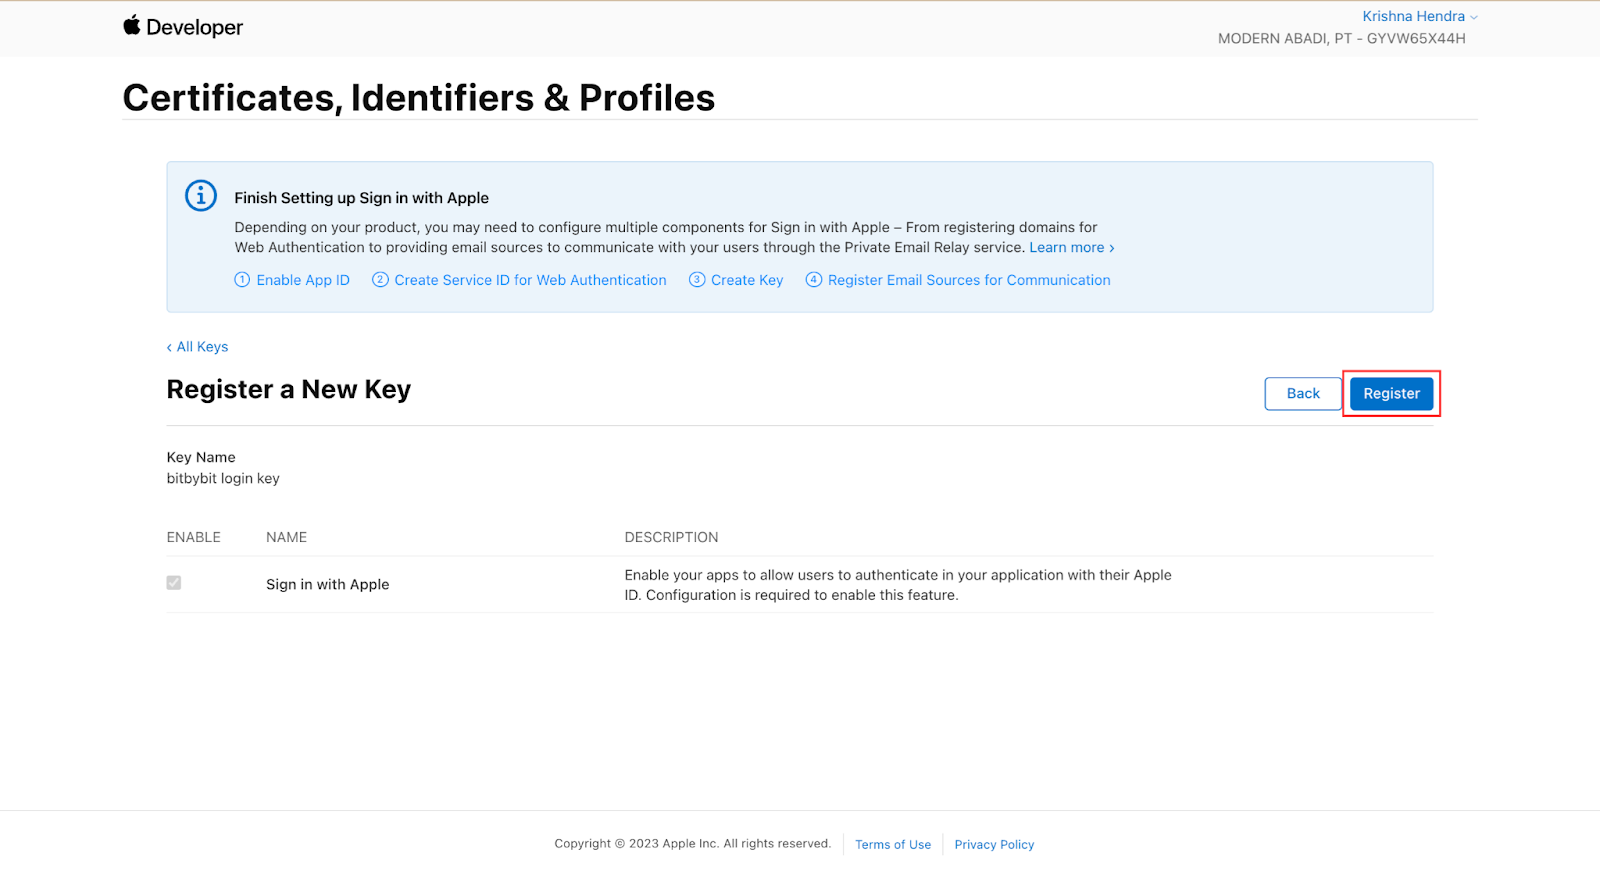
- In the sidebar, go to "Keys" and click the "+" icon.
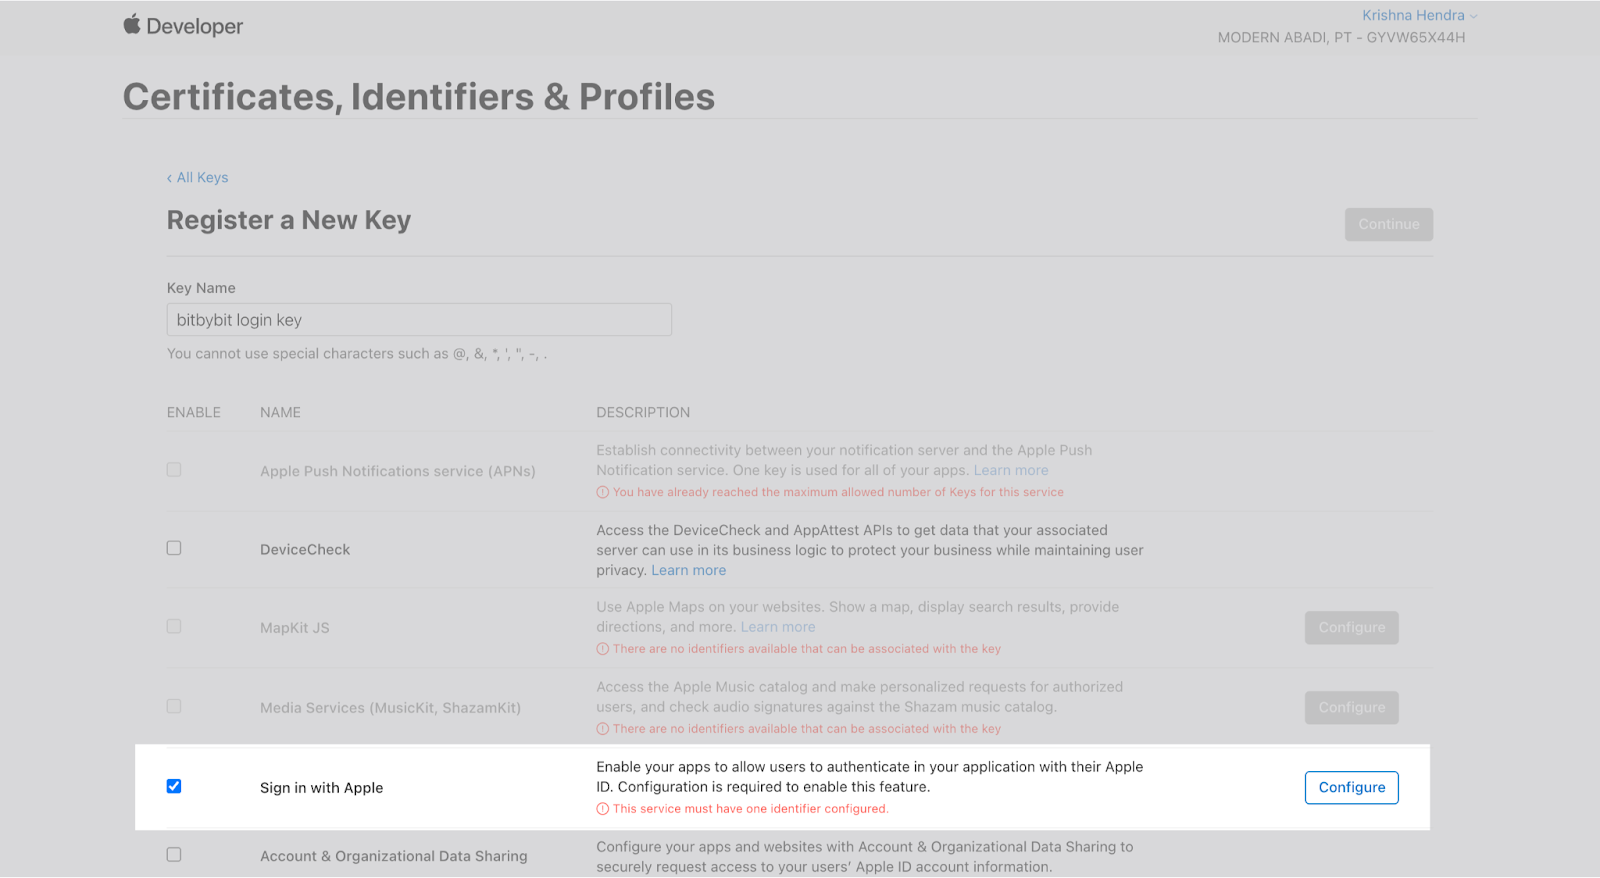
- Fill in the “Key Name”, enable "Sign in with Apple," and configure the same “App ID” as earlier.
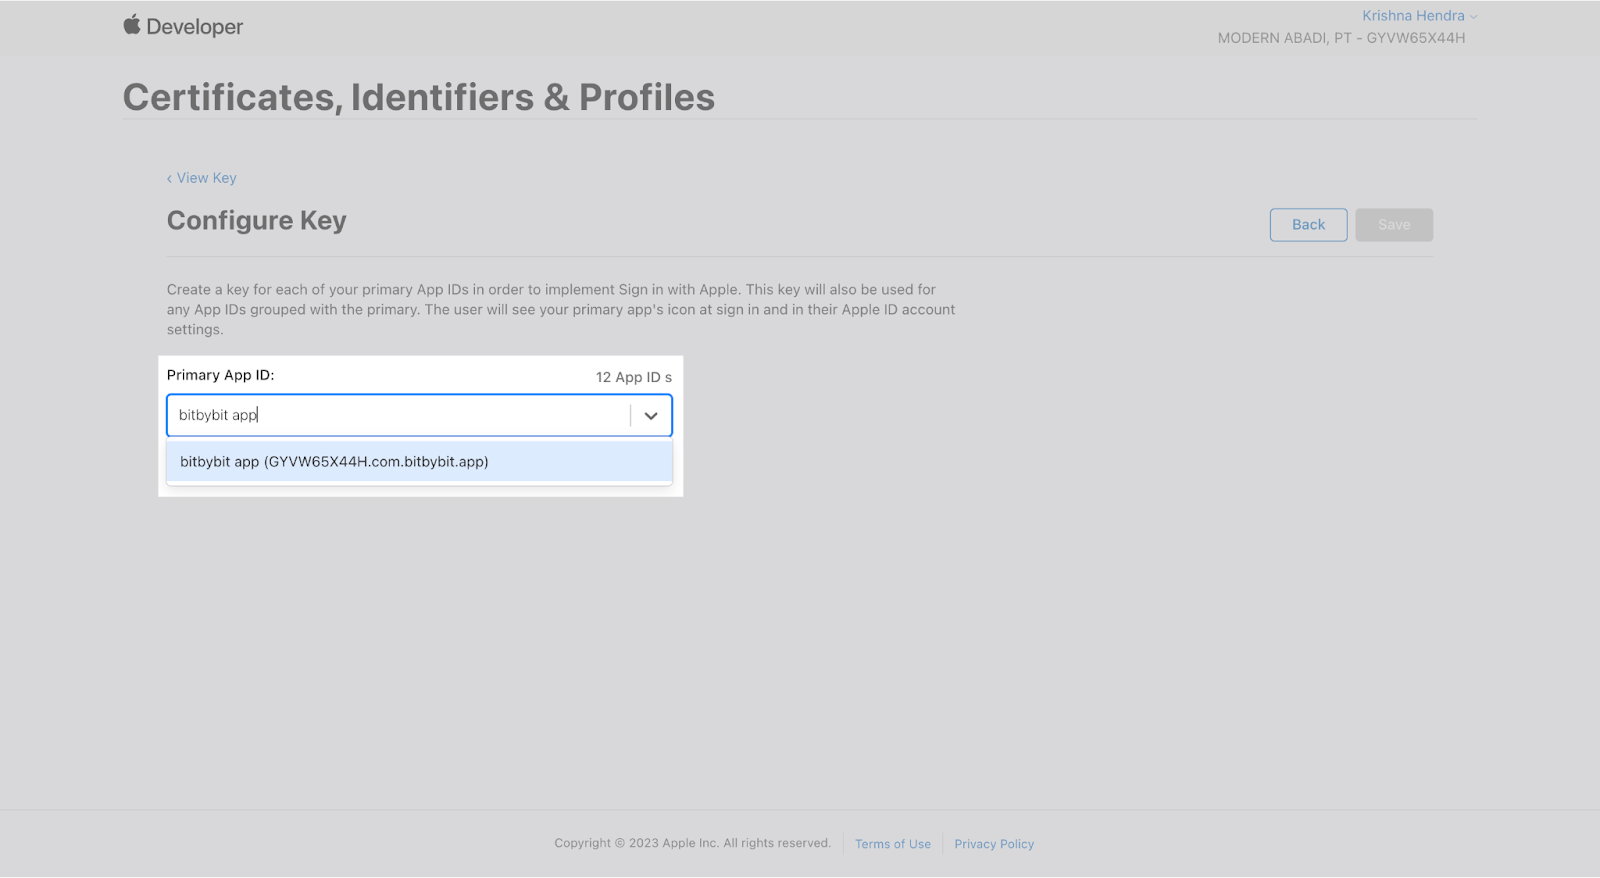
- Click "Save" and register the key.
- Download the key and copy your “Key ID” and “Private Key” to the “Apple Settings” in bitLogin.
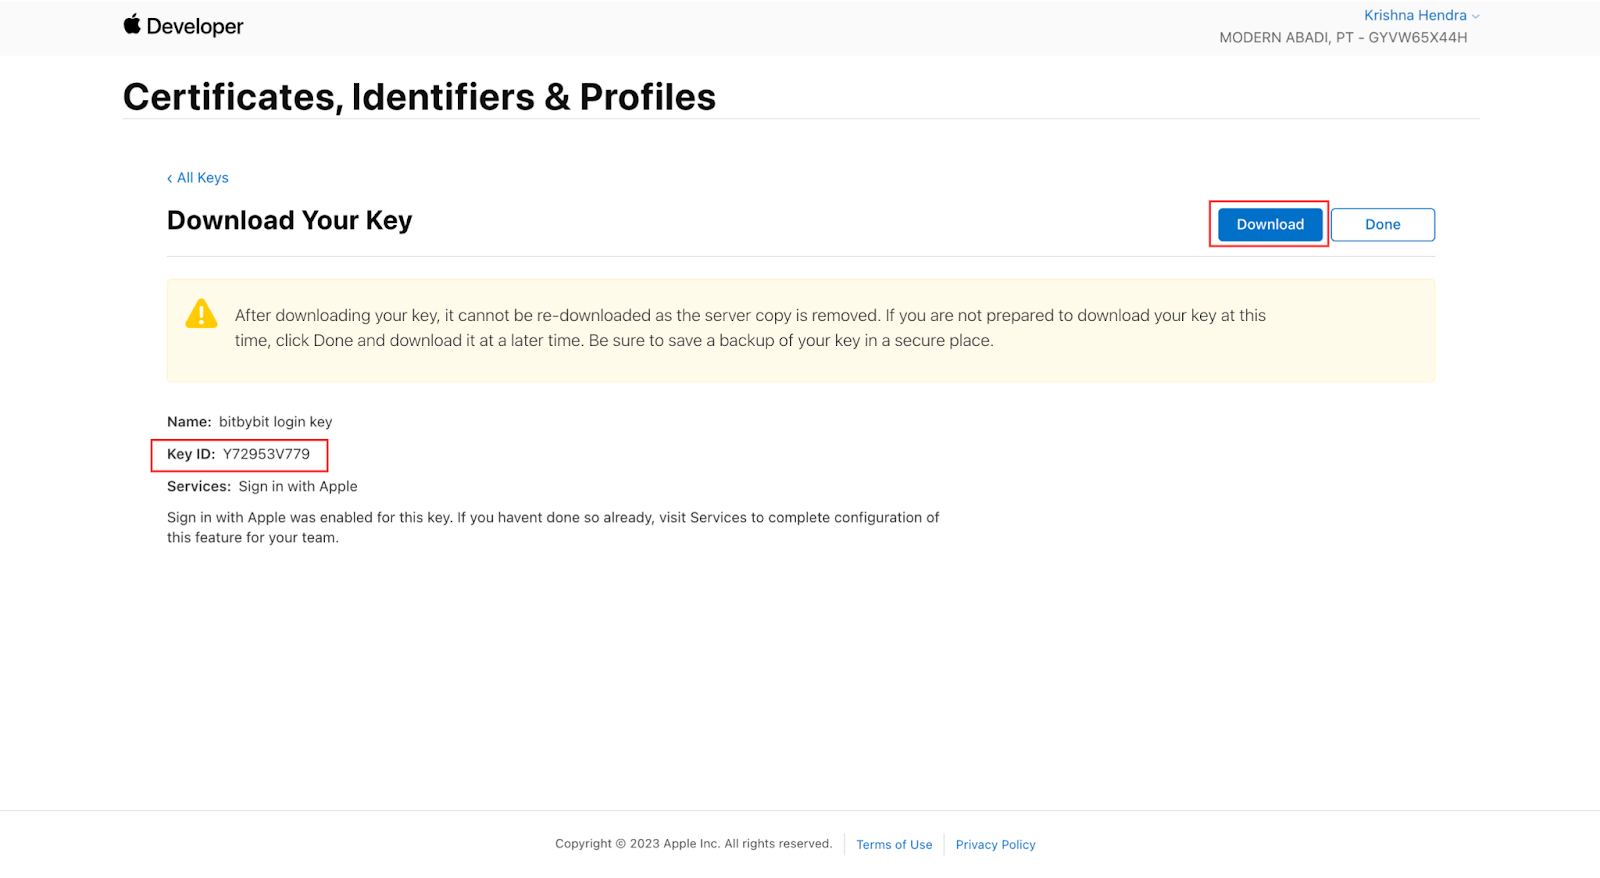

- Next, paste the private key you downloaded directly into the Private Key field on the Apple Settings Page. Be sure not to modify the key, just copy it as is and paste it in.

- Toggle the "Use your store name on Apple login" switch until it turns green.

Congratulations! You've now configured Apple OAuth successfully.
