
Filtering customer chats by ticket in bitChat helps you efficiently manage and respond to inquiries. In bitChat, there are two methods to acquire this information: filtering from the Livechat section and filtering from the Ticket section.
Here is the step-by-step guide according to each method:
Method 1: Filtering Chat from the Livechat Section
1. Access the bitChat Dashboard: Navigate to the bitChat dashboard and click “Livechat” on the left navigation bar.

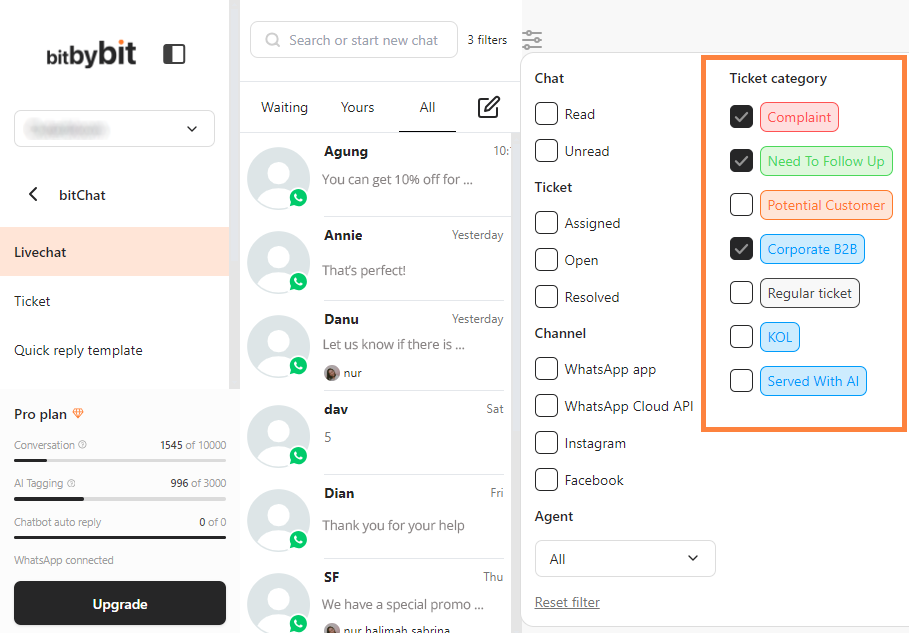
2. Open the Filter Menu: On the top of the page, click the ‘Filter’ icon. This will open the Filter menu.

3. Choose the Ticket Category: Select the ticket category(ies) you want to filter. You can select multiple tickets.
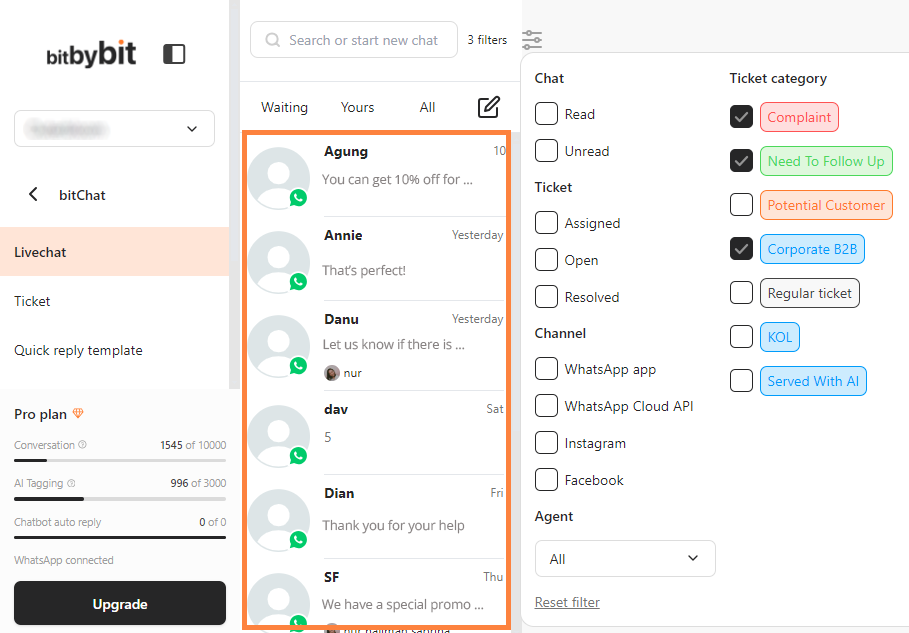
4. View Filtered Results: Your filtered chat result will appear in the message dashboard.
Method 2: Filtering Chat from the Ticket Section
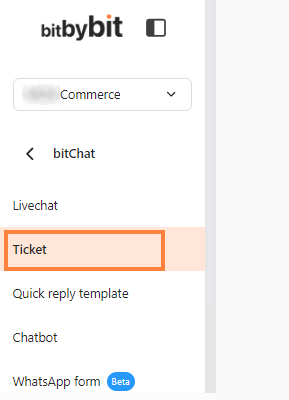
1. Access the bitChat Dashboard: Navigate to the bitChat dashboard and click “Ticket” on the left navigation bar.
2. Open the Ticket Filter: On the Ticket page, click the ‘Filter’ dropdown to open the Ticket list. Under the ‘Ticket tag’, select the ticket categories you want to filter. You can choose multiple ticket categories.
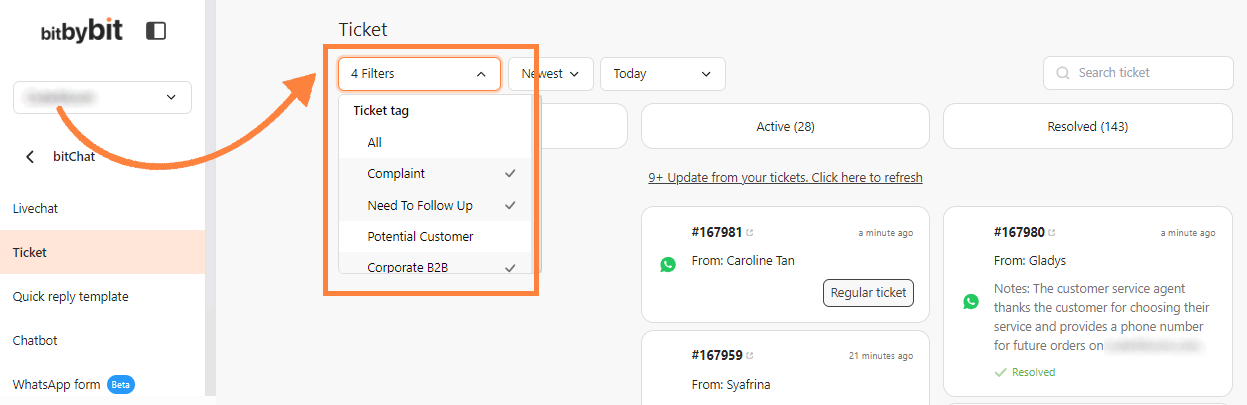
3. Sort the Results: Click the ‘Sort’ dropdown to choose between sorting options ‘Newest’ and ‘Oldest’.

4. Filter by Period: Click on the ‘Period’ column to filter the results by a specific time frame. Choose the desired period from the options.

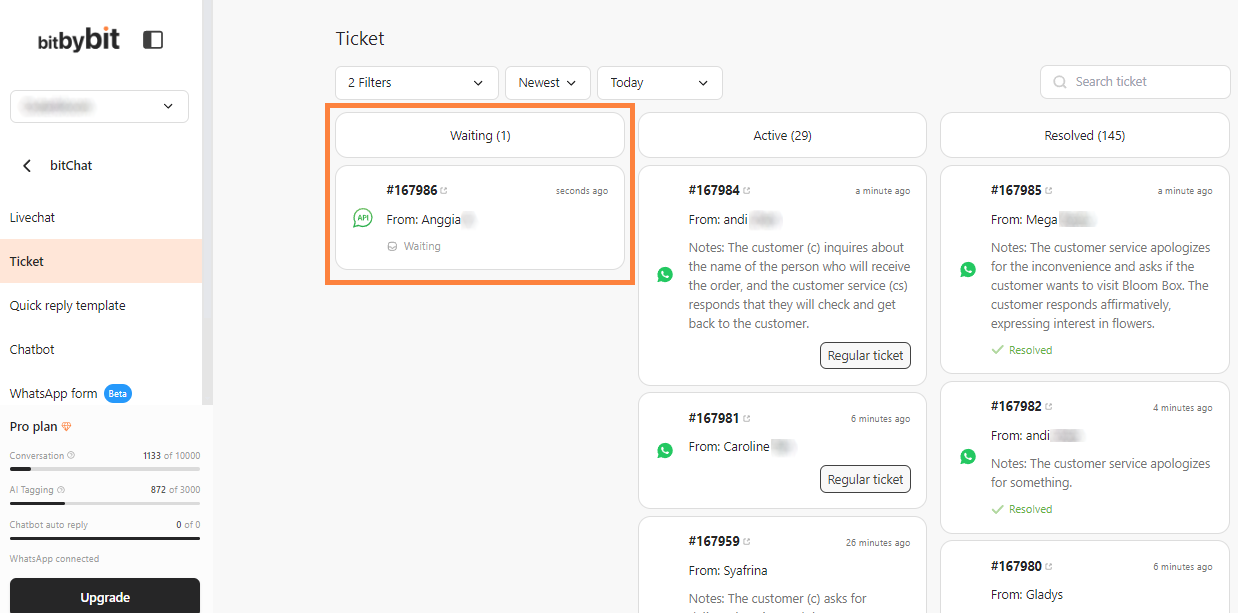
5. View Filtered Results: Your filtered results will appear on the dashboard, categorized as follows:
- Waiting: Displays messages that have not yet been handled.
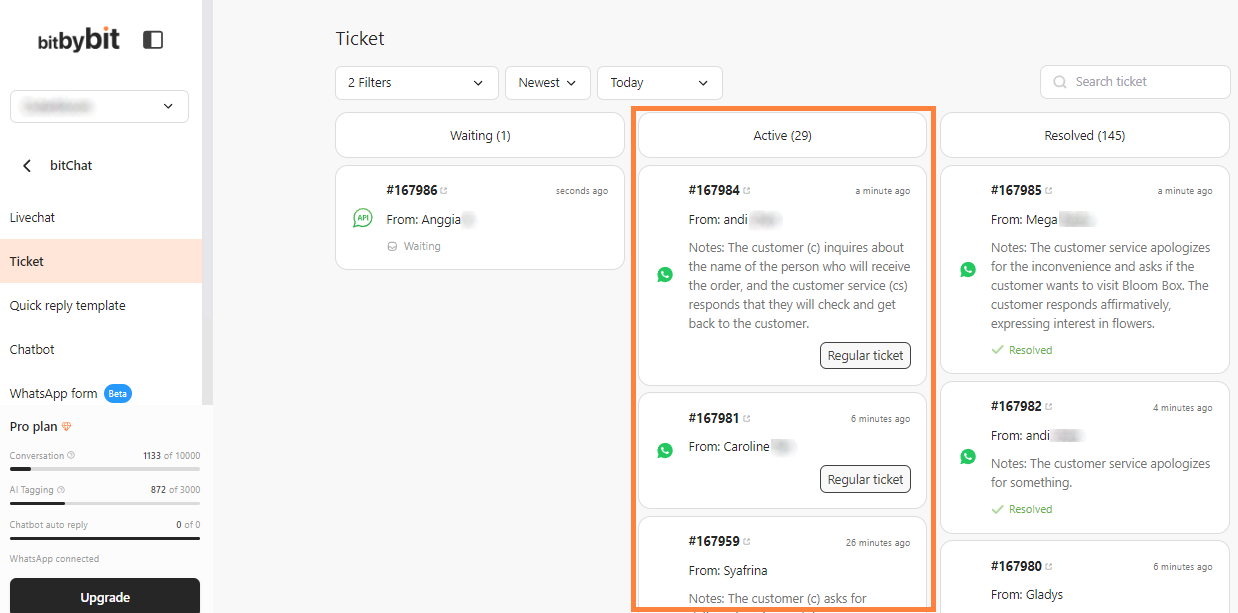
- Active: Shows all messages that you are currently handling and still need to be resolved.
- Resolved: Lists all previous messages that have been resolved.
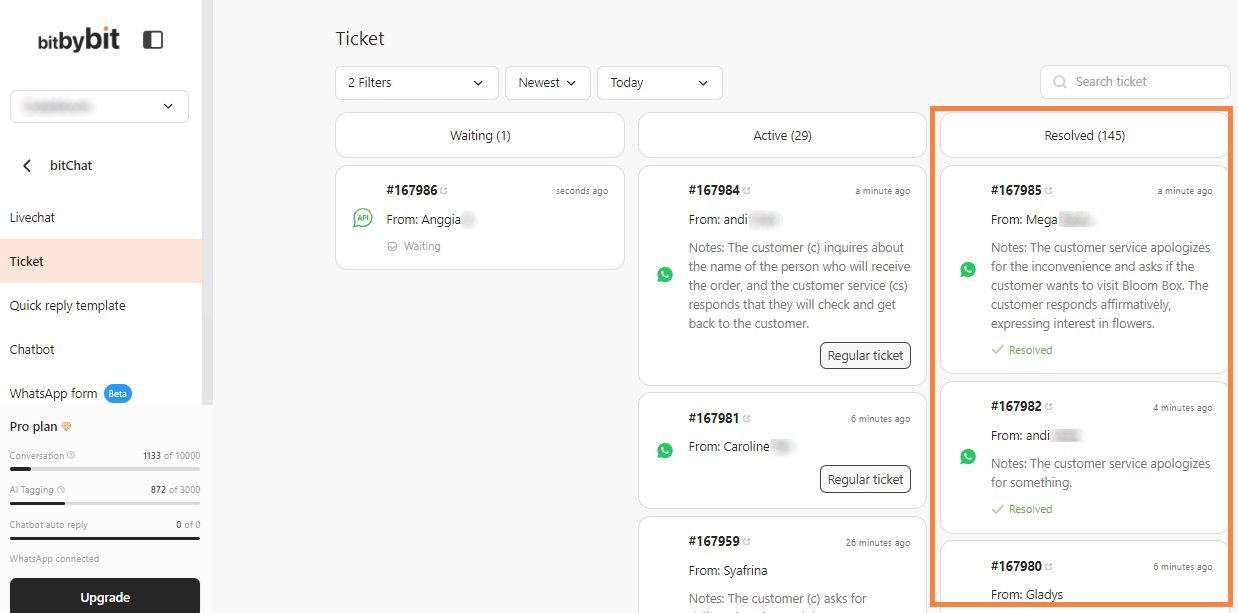
6. Move Chats Between Categories: You can move chats between categories by dragging and dropping the selected chat. For example, you can drag a chat from the ‘Active’ category to the ‘Resolved’ category when the conversation has been resolved.
By following these steps, you can streamline your customer support process, improve response times, and enhance overall customer satisfaction.