Directing push notifications to specific pages within your app allows for targeted engagement, ensuring users are driven to the right content at the right time. This guide walks you through creating notifications that direct users to custom URLs, product pages, and more within your app using bitCRM. Follow the instructions below:
Step 1: Go to Campaign dashboard
- Navigate to your bitCRM Campaign dashboard and click "Create new campaign."

Step 2: Select a channel
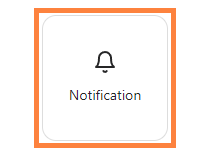
- Click "Notification”

Step 3: Create Notification
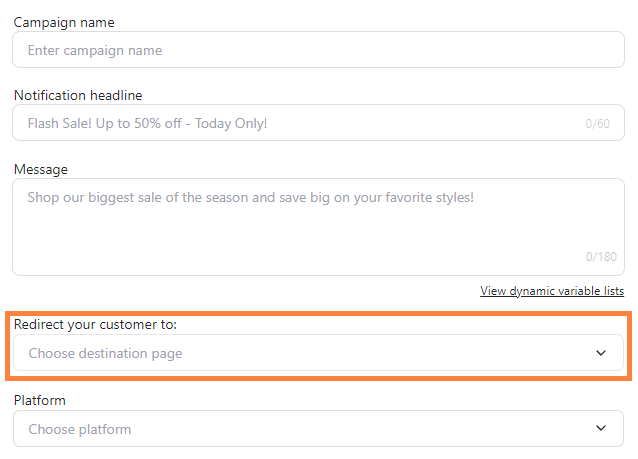
- Fill in the required template then choose the “Destination page” dropdown.

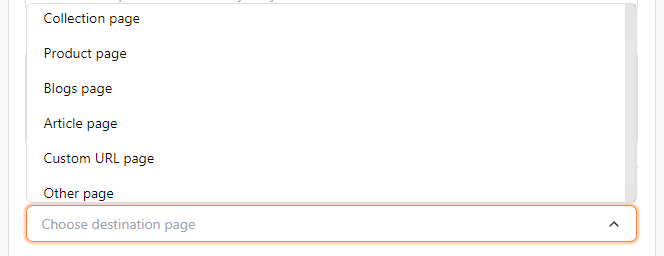
- Choose the “Destination page”

Key Differences:
- Collection Page - Product group
- Product Page - Specific product
- Blogs Page - Blog section
- Article Page - Single article
- Custom URL Page - Custom link
Other Page:
- Home Page - Main page
- Account Page - User dashboard
- Cart Page - Shopping cart
- Category Page - Product category
- Wishlist Page - Saved items
- Search Page - Search tool
- Product Reviews Page - View reviews
- Create Product Reviews Page - Submit reviews
- Checkout Page - Purchase completion
- Login Page - Account login
- Register Page - Account signup
- Forgot Password Page - Reset password
- Update Order Shipping Address Page - Edit order address
- Update User Shipping Address Page - Edit default address
- Order History Page - Past orders
Step 4: Save Your Notification
- Click “Review”.
