
Make your bitLink page stand out by customizing its theme to align with your brand. Adjust background, fonts, and colors for a personalized look that resonates with your audience. Follow this guide for a quick and effective setup.
Step 1: Access the Appearance Dashboard
- Go to the bitLink Appearance dashboard.
Step 2: Choose a Theme Preset
- Select your desired preset theme for quick customization.

Step 3: Customize Background
- Select “Solid color”, “Gradient” or click “Upload Image” to upload your own preferences and adjust the image opacity.

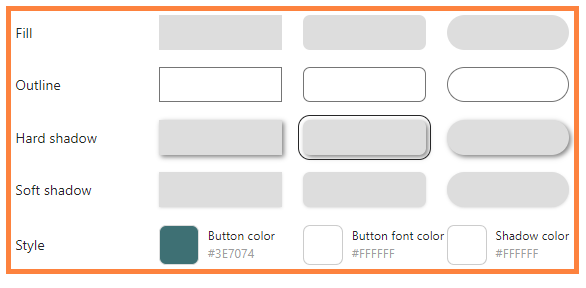
Step 5: Style Your Buttons
- Choose button style.
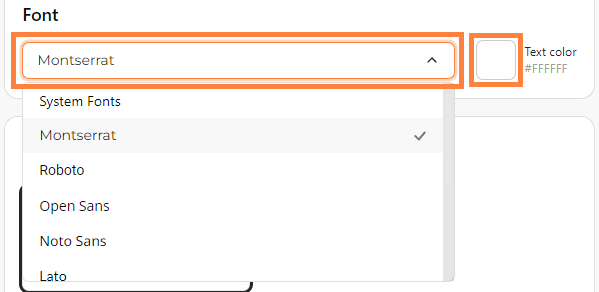
Step 6: Set Fonts and Colors
- Choose the font dropdown to select text styles and colors.
Step 7: Hide Branding
- You can hide the bitbybit logo for a cleaner look. However, this feature is only available for Standard Plan. If you wish to have this feature, you can upgrade your plan.
Step 8: Preview Changes
- Preview your customized page on the right side of the screen.
