
Easily add new URLs to your bitLink profile to keep your audience updated with relevant content. Customize your link title, URL, and slug to make it unique and brand-aligned. Follow these steps to set up your new bitLink link.
Step 1: Access Your Shopify Dashboard
- Go to your Shopify and click "Apps" on the left sidebar then select "bitLink".

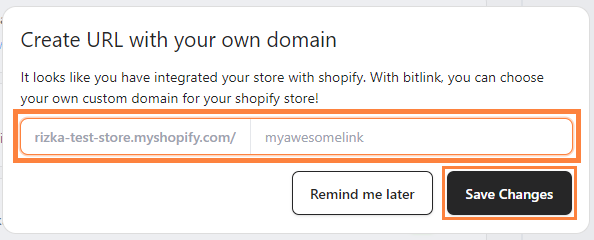
Step 2: Customize Your bitLink Slug
- Click and create your link and edit the “myawesomelink” slug to create a unique, memorable link that resonates with your brand. Then click “Save Change”.
Step 3: Create a New Link Section
- Select "Add Link" to begin adding your new link.

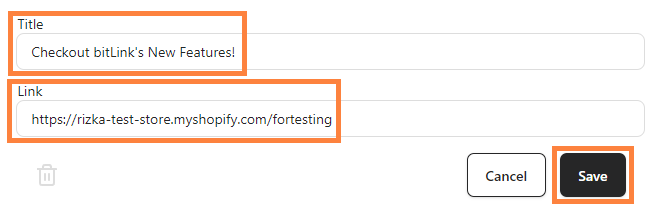
Step 4: Add a Title & Insert the URL
- Enter a title for your link, it will be displayed as the button text on your bitLink profile. Then insert your URL (the best practice is to copy and paste your original URL). Then click “Save”
Step 6: Publish Your Link
- Your link is now live! To hide it from public view, simply click the "Toggle" in the top right corner.

Troubleshooting: If you're unable to submit your bitLink, check that:
1. The link toggle is turned "on."
2. A valid URL is entered, uses the appropriate format (e.g., http:// or https://).
3. The link does not contain unsafe or malicious content.