How to Add a Divider

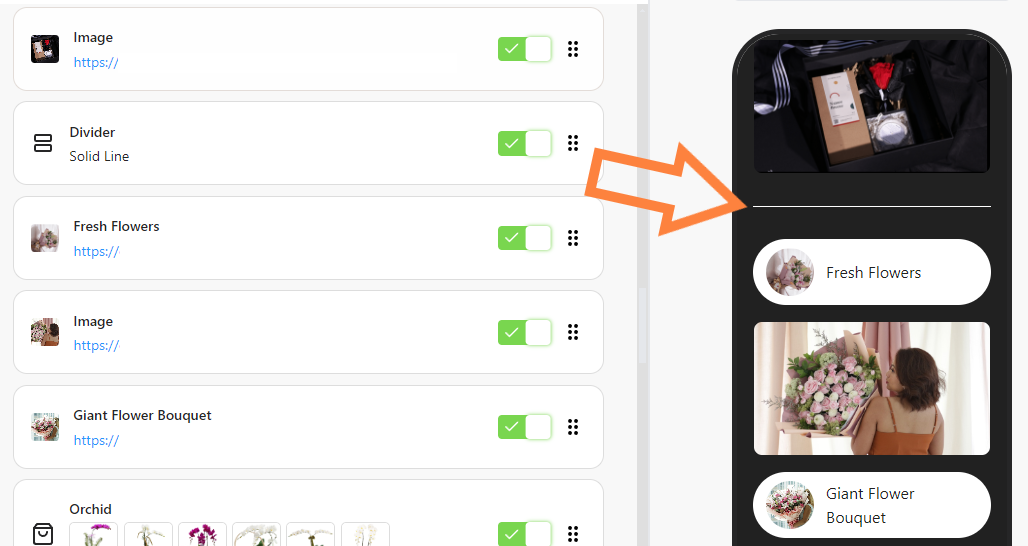
Use the Divider feature in bitLink to organize sections on your page and improve readability. Dividers visually separate content, making your bitLink page look neat and professional. Here’s how to add and style your Divider in just a few steps.

Step 1: Access Your bitLink Dashboard

Step 2: Add a New Section

  • Click on "Add Section" and select "Divider".
Click on "Add Section" and select "Divider"

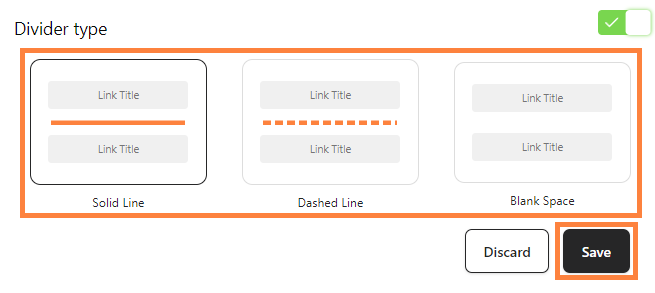
Step 3: Choose Your Divider Style

  • Select the preferred divider design and click “Save”.
Select divider design and click “Save”

Step 4: Preview

  • Preview your page
Preview the divider on page

For further assistance, reach out to us at help@bitbybit.studio

More articles

How to Create and Connect WhatsApp Business App

Learn how to connect WhatsApp Business App with bitCRM to enhance campaign and automation directly in the dashboard.

How to Create and Connect WhatsApp Cloud API

Discover how to seamlessly integrate WhatsApp Cloud API with bitbybit to enhance your e-commerce customer interactions.

How to Create a New WhatsApp Cloud API Campaign

Learn how to set up and launch a WhatsApp Cloud API campaign in bitCRM. Boost customer engagement with personalized, targeted messaging in just a few simple steps.

More blogs